Screenshot Utility
Taking screenshots on the Mac can be useful for various reasons including troubleshooting or sharing software procedures. There are different ways screenshots can be created on the Mac.
Full-screen screenshot using the ⇧ ⌘ 3 keyboard shortcut
Section titled “Full-screen screenshot using the ⇧ ⌘ 3 keyboard shortcut”To simply capture a full-screen screenshot, the simplest way is to use the ⇧ ⌘ 3 keyboard shortcut (Shift-Comamnd-3) by pressing Shift, Command (⌘), and the number 3 all at the same time.
- Hit the ⇧ ⌘ 3 keys (Shift-Comamnd-3) at the same time. The Mac makes a shutter noise and takes the screenshot.
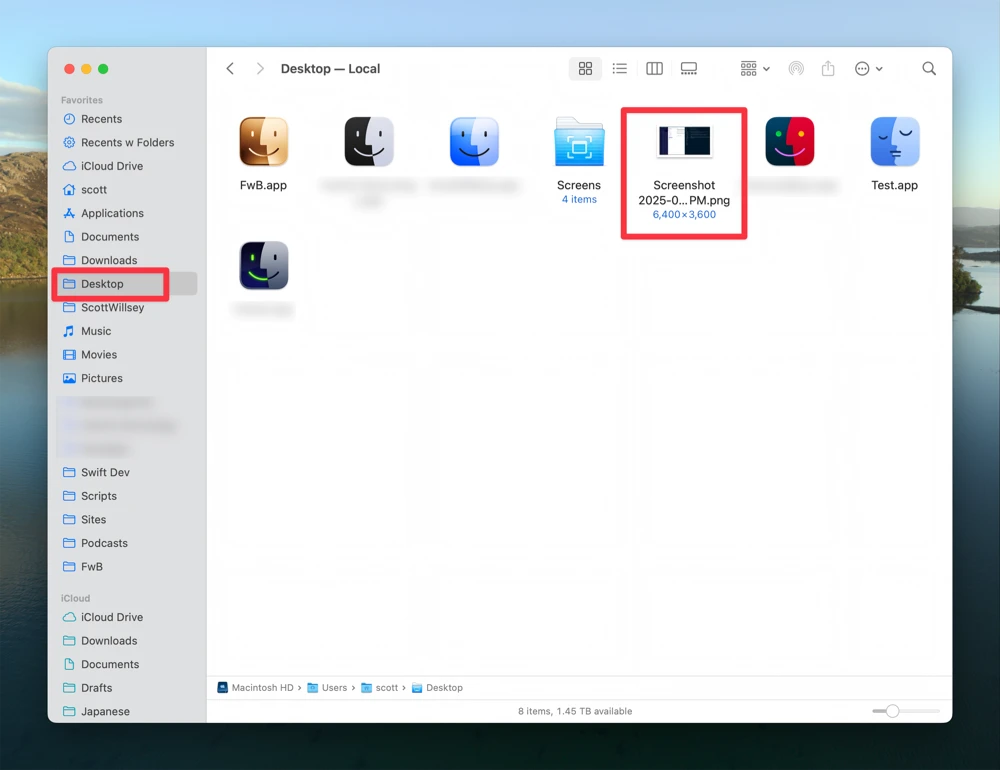
- Find the screenshot on the Desktop or by using a Finder window and opening Desktop in Finder to see the newly created screenshot.
Full-screen screenshot using the macOS screenshot utility.
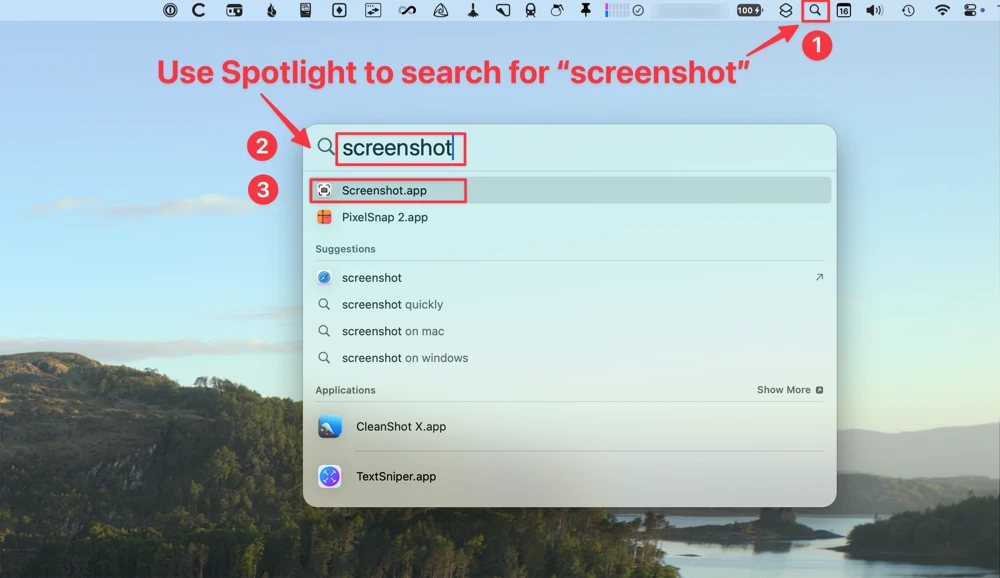
Section titled “Full-screen screenshot using the macOS screenshot utility.”- Hit ⇧ ⌘ 5 on the keyboard to bring up the screenshot utility OR search for screenshot in Spotlight and choose the entry for Screenshot.
- The Screenshot utility app appears on your lower Desktop.
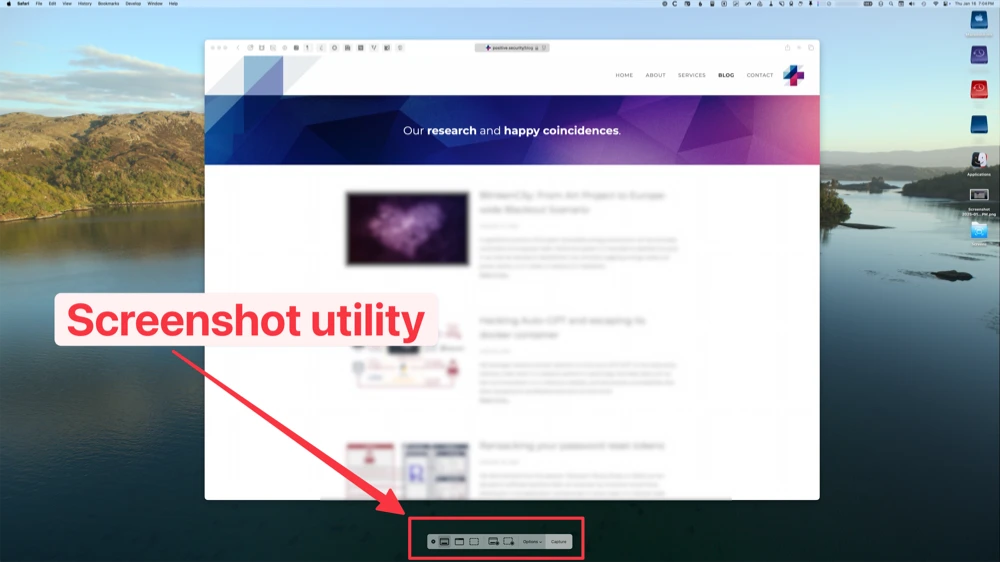
- Choose the “Capture Entire Screen” option by clicking the far left icon.

- Click “Capture”.

- The screenshot appears in the corner of your Mac screen.
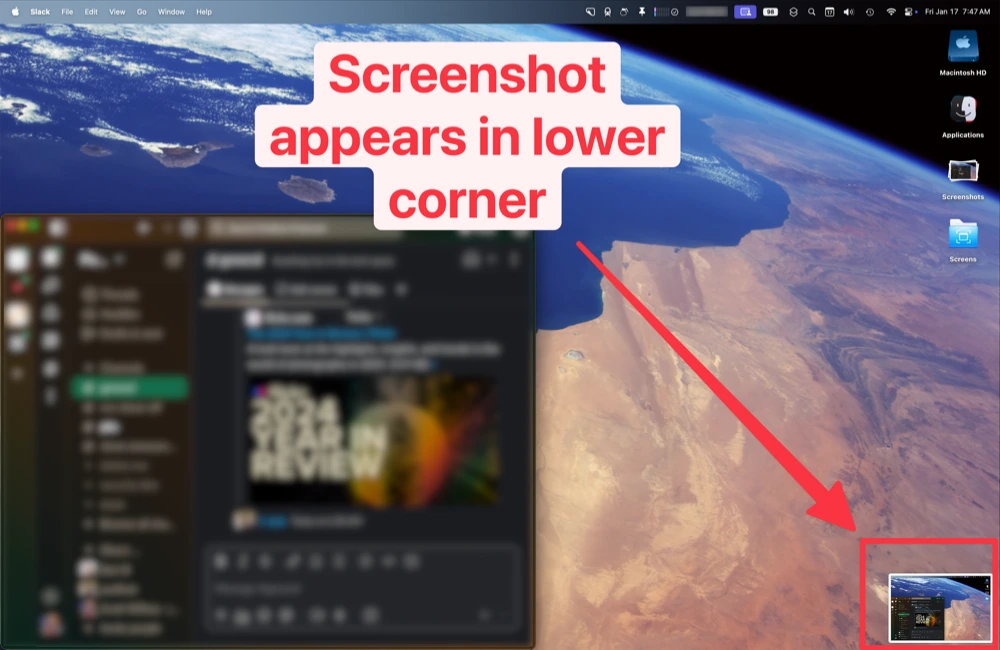
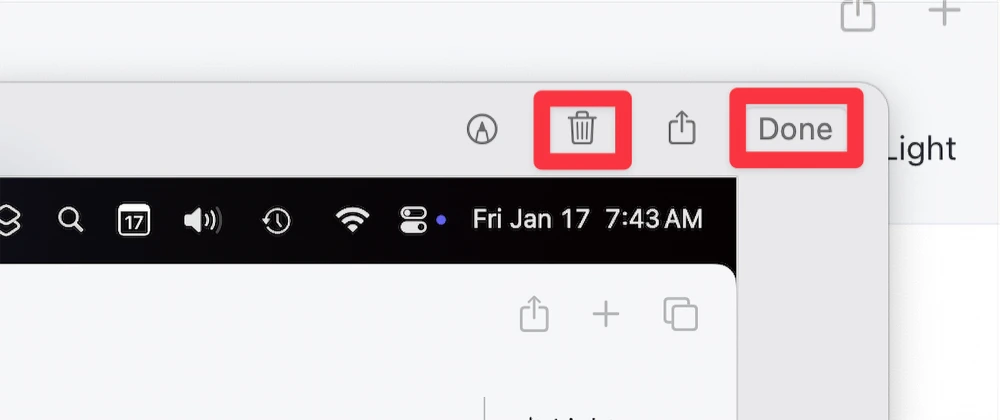
- Click on it to get options to save it (by clicking “Done”) or to delete it (by clicking the Trash icon).
